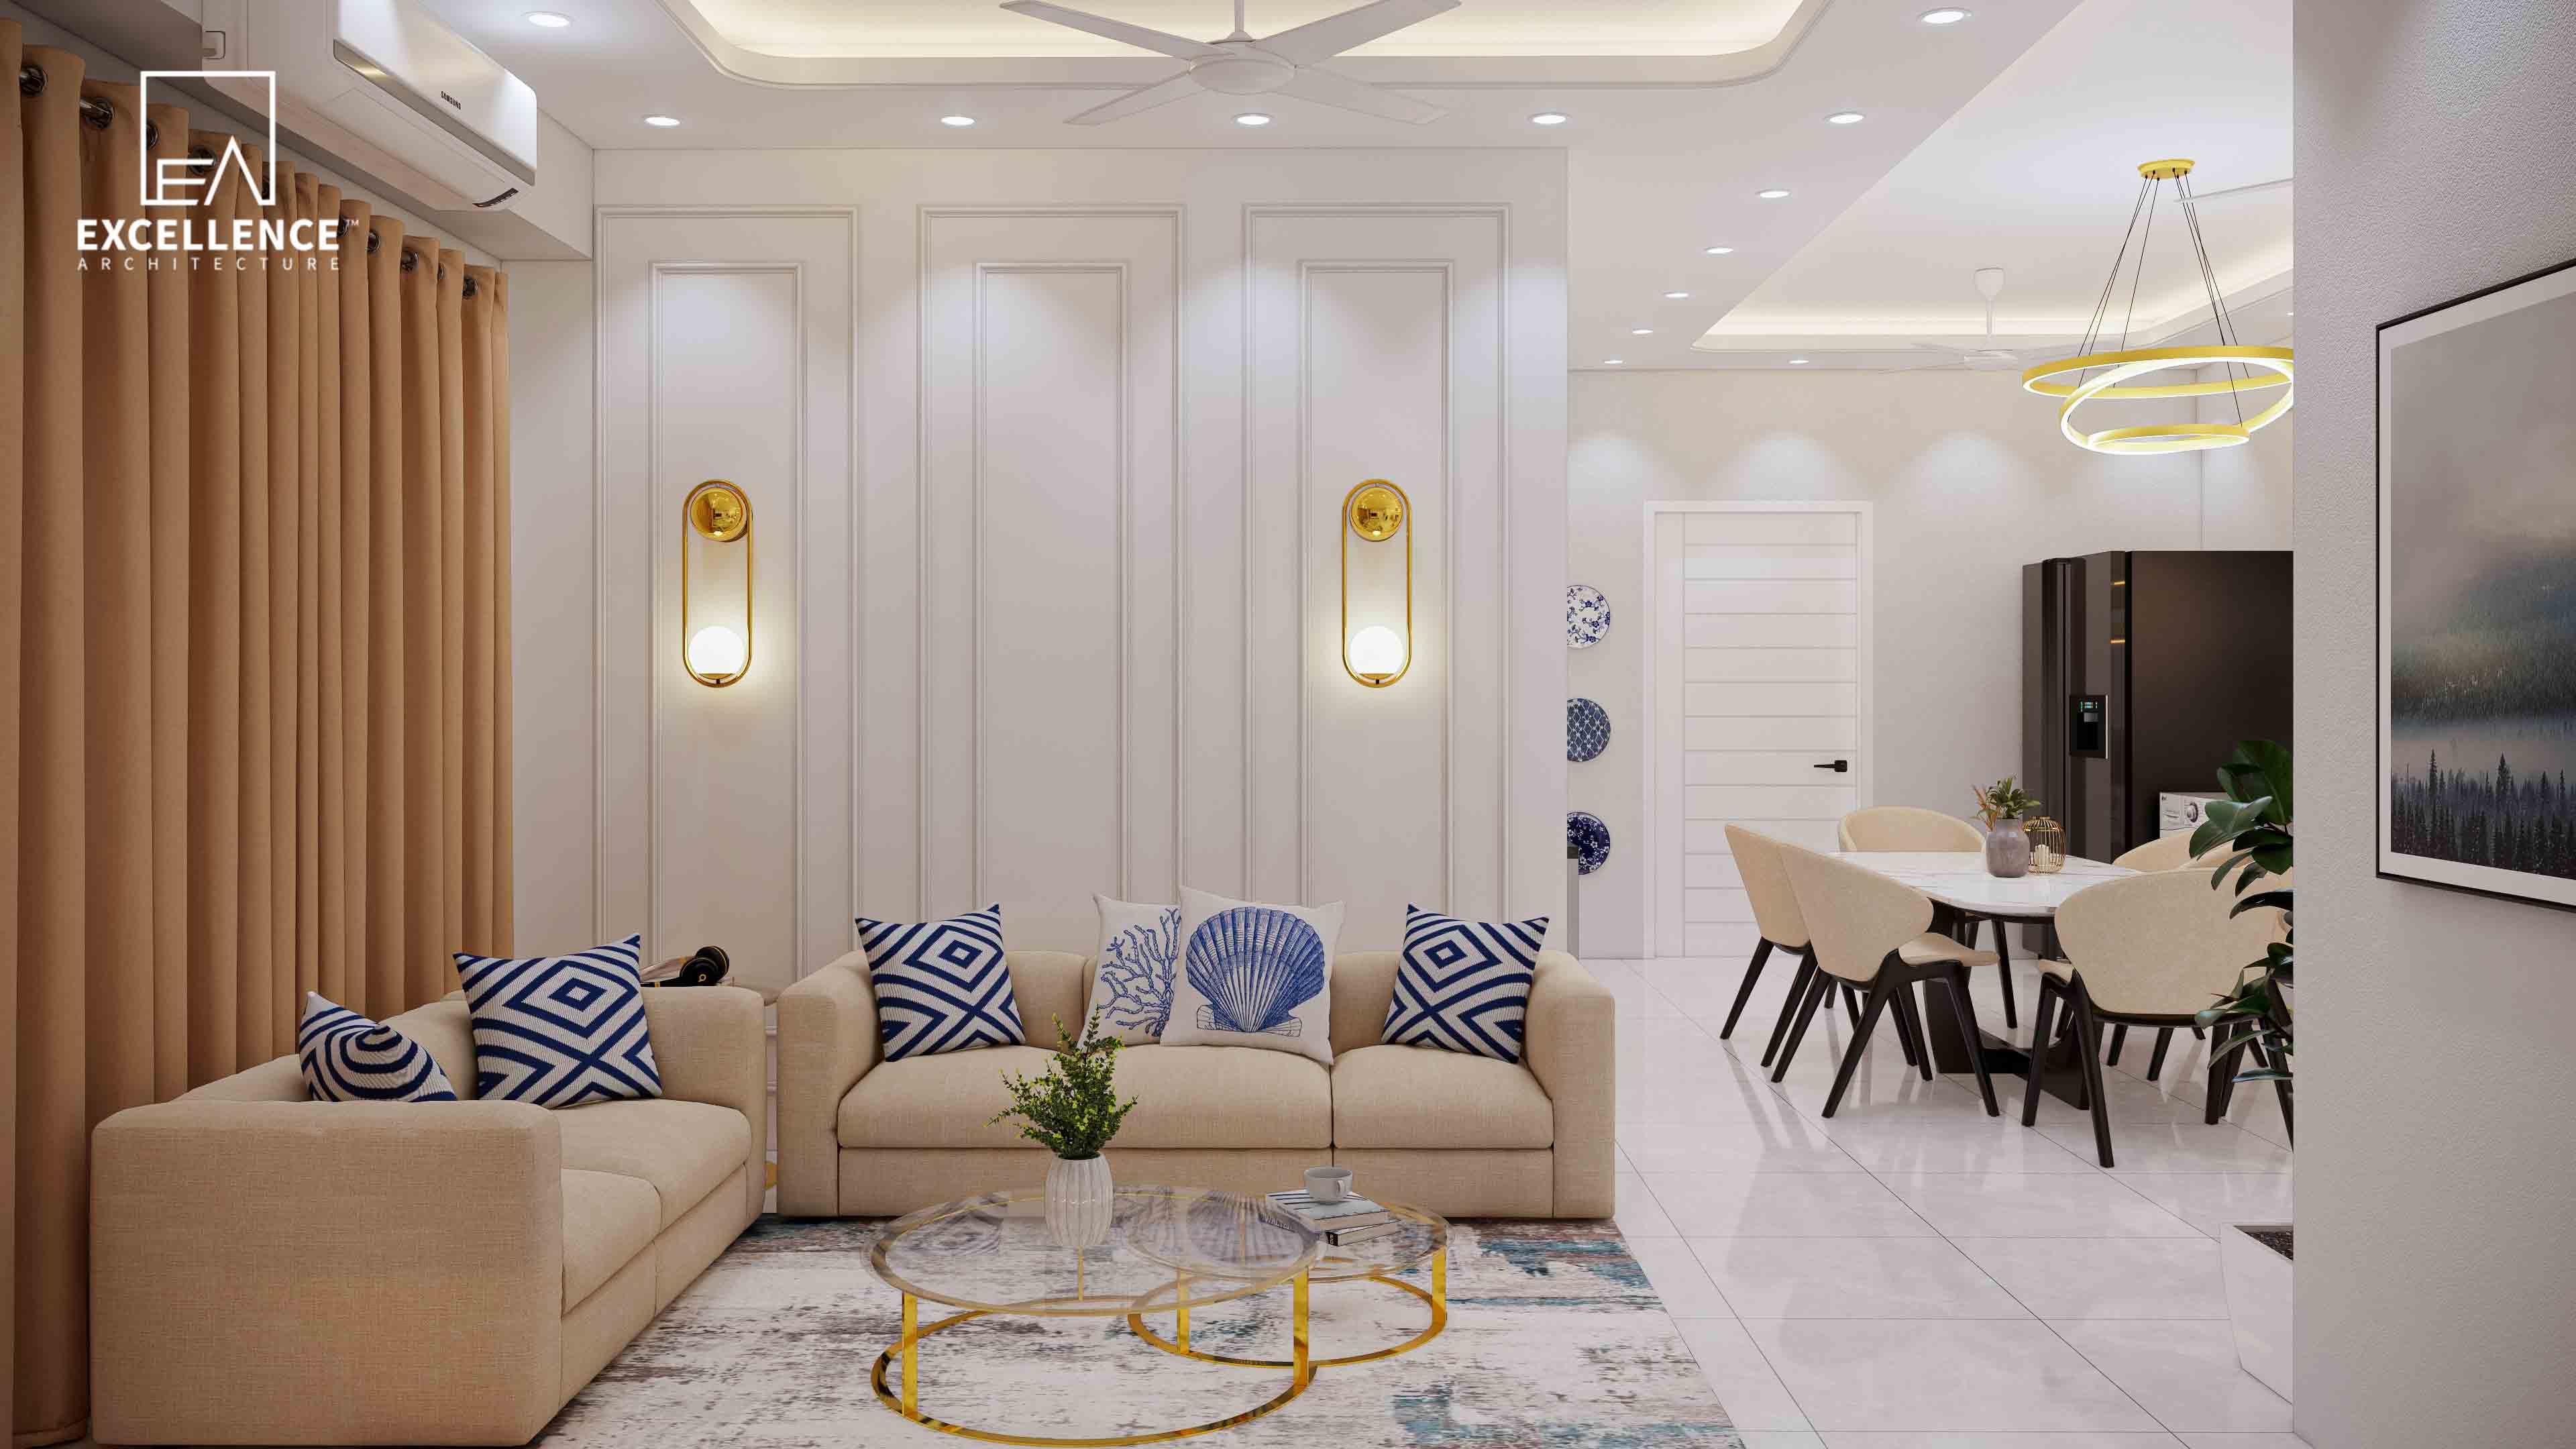
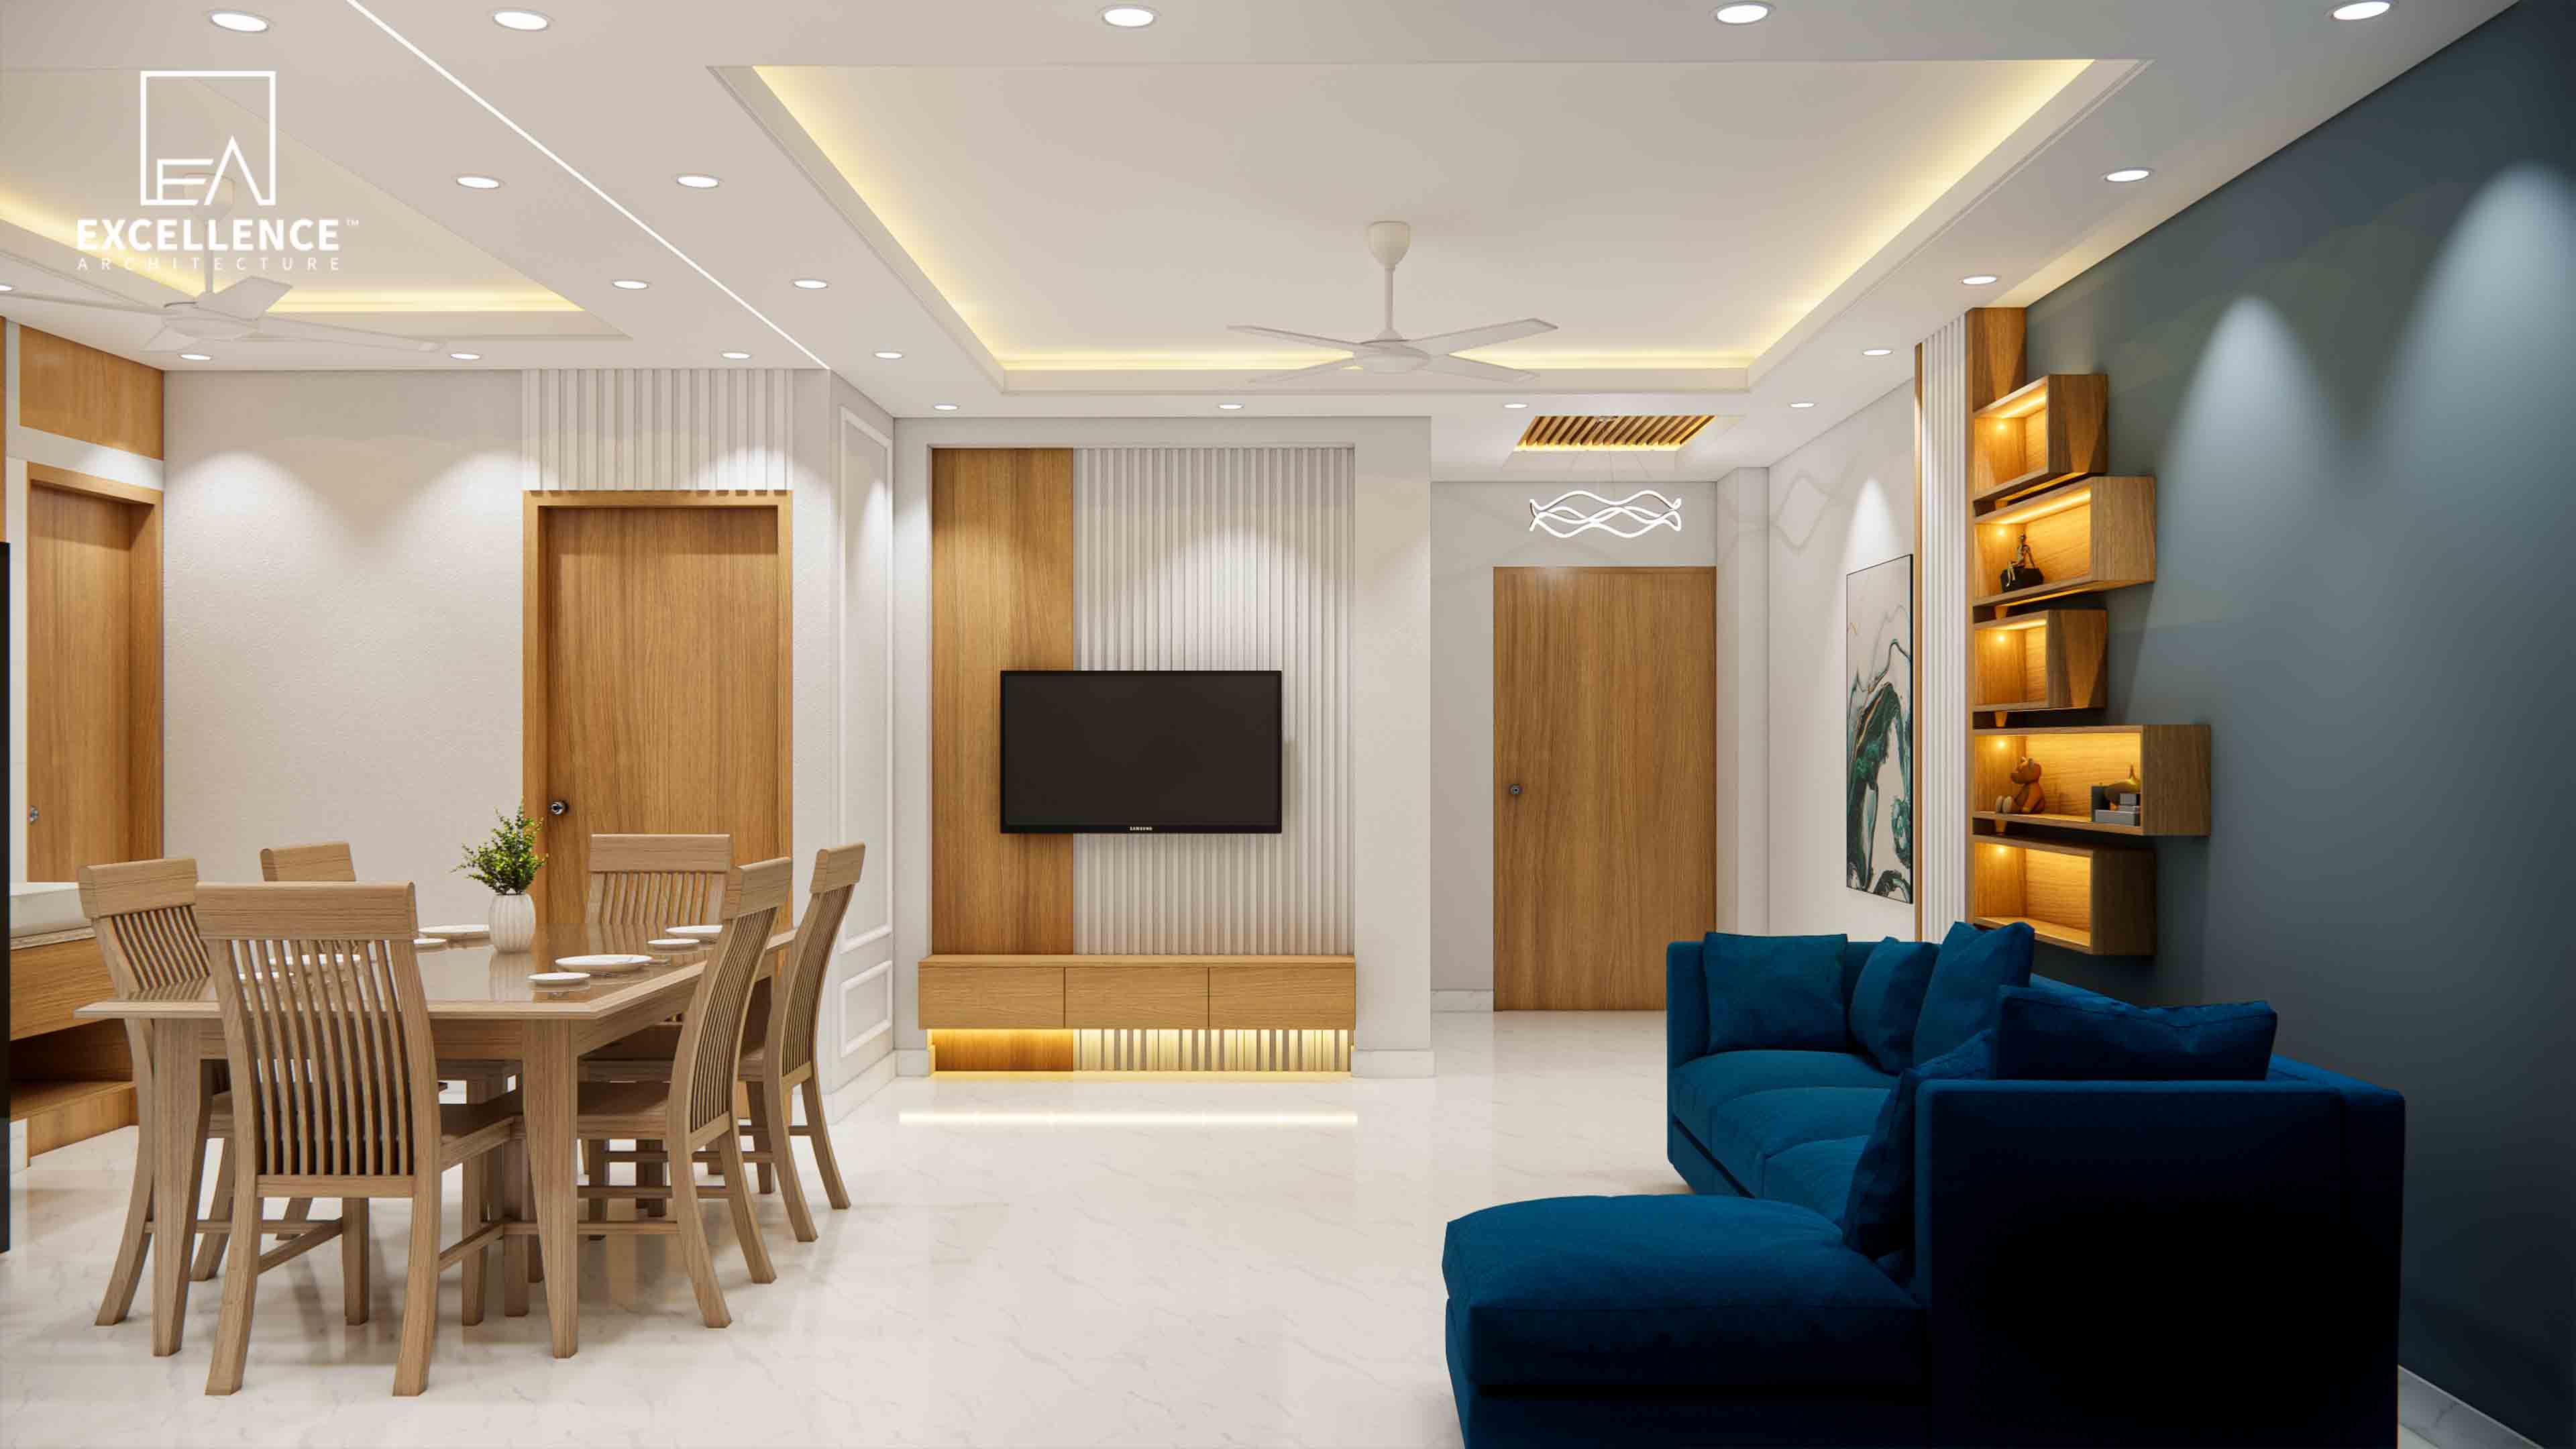
Tired of interior budget ballooning midway? Discover red flags in vague contractor quotes, BOQ standards, and contract clauses to protect your Dhaka home investment.
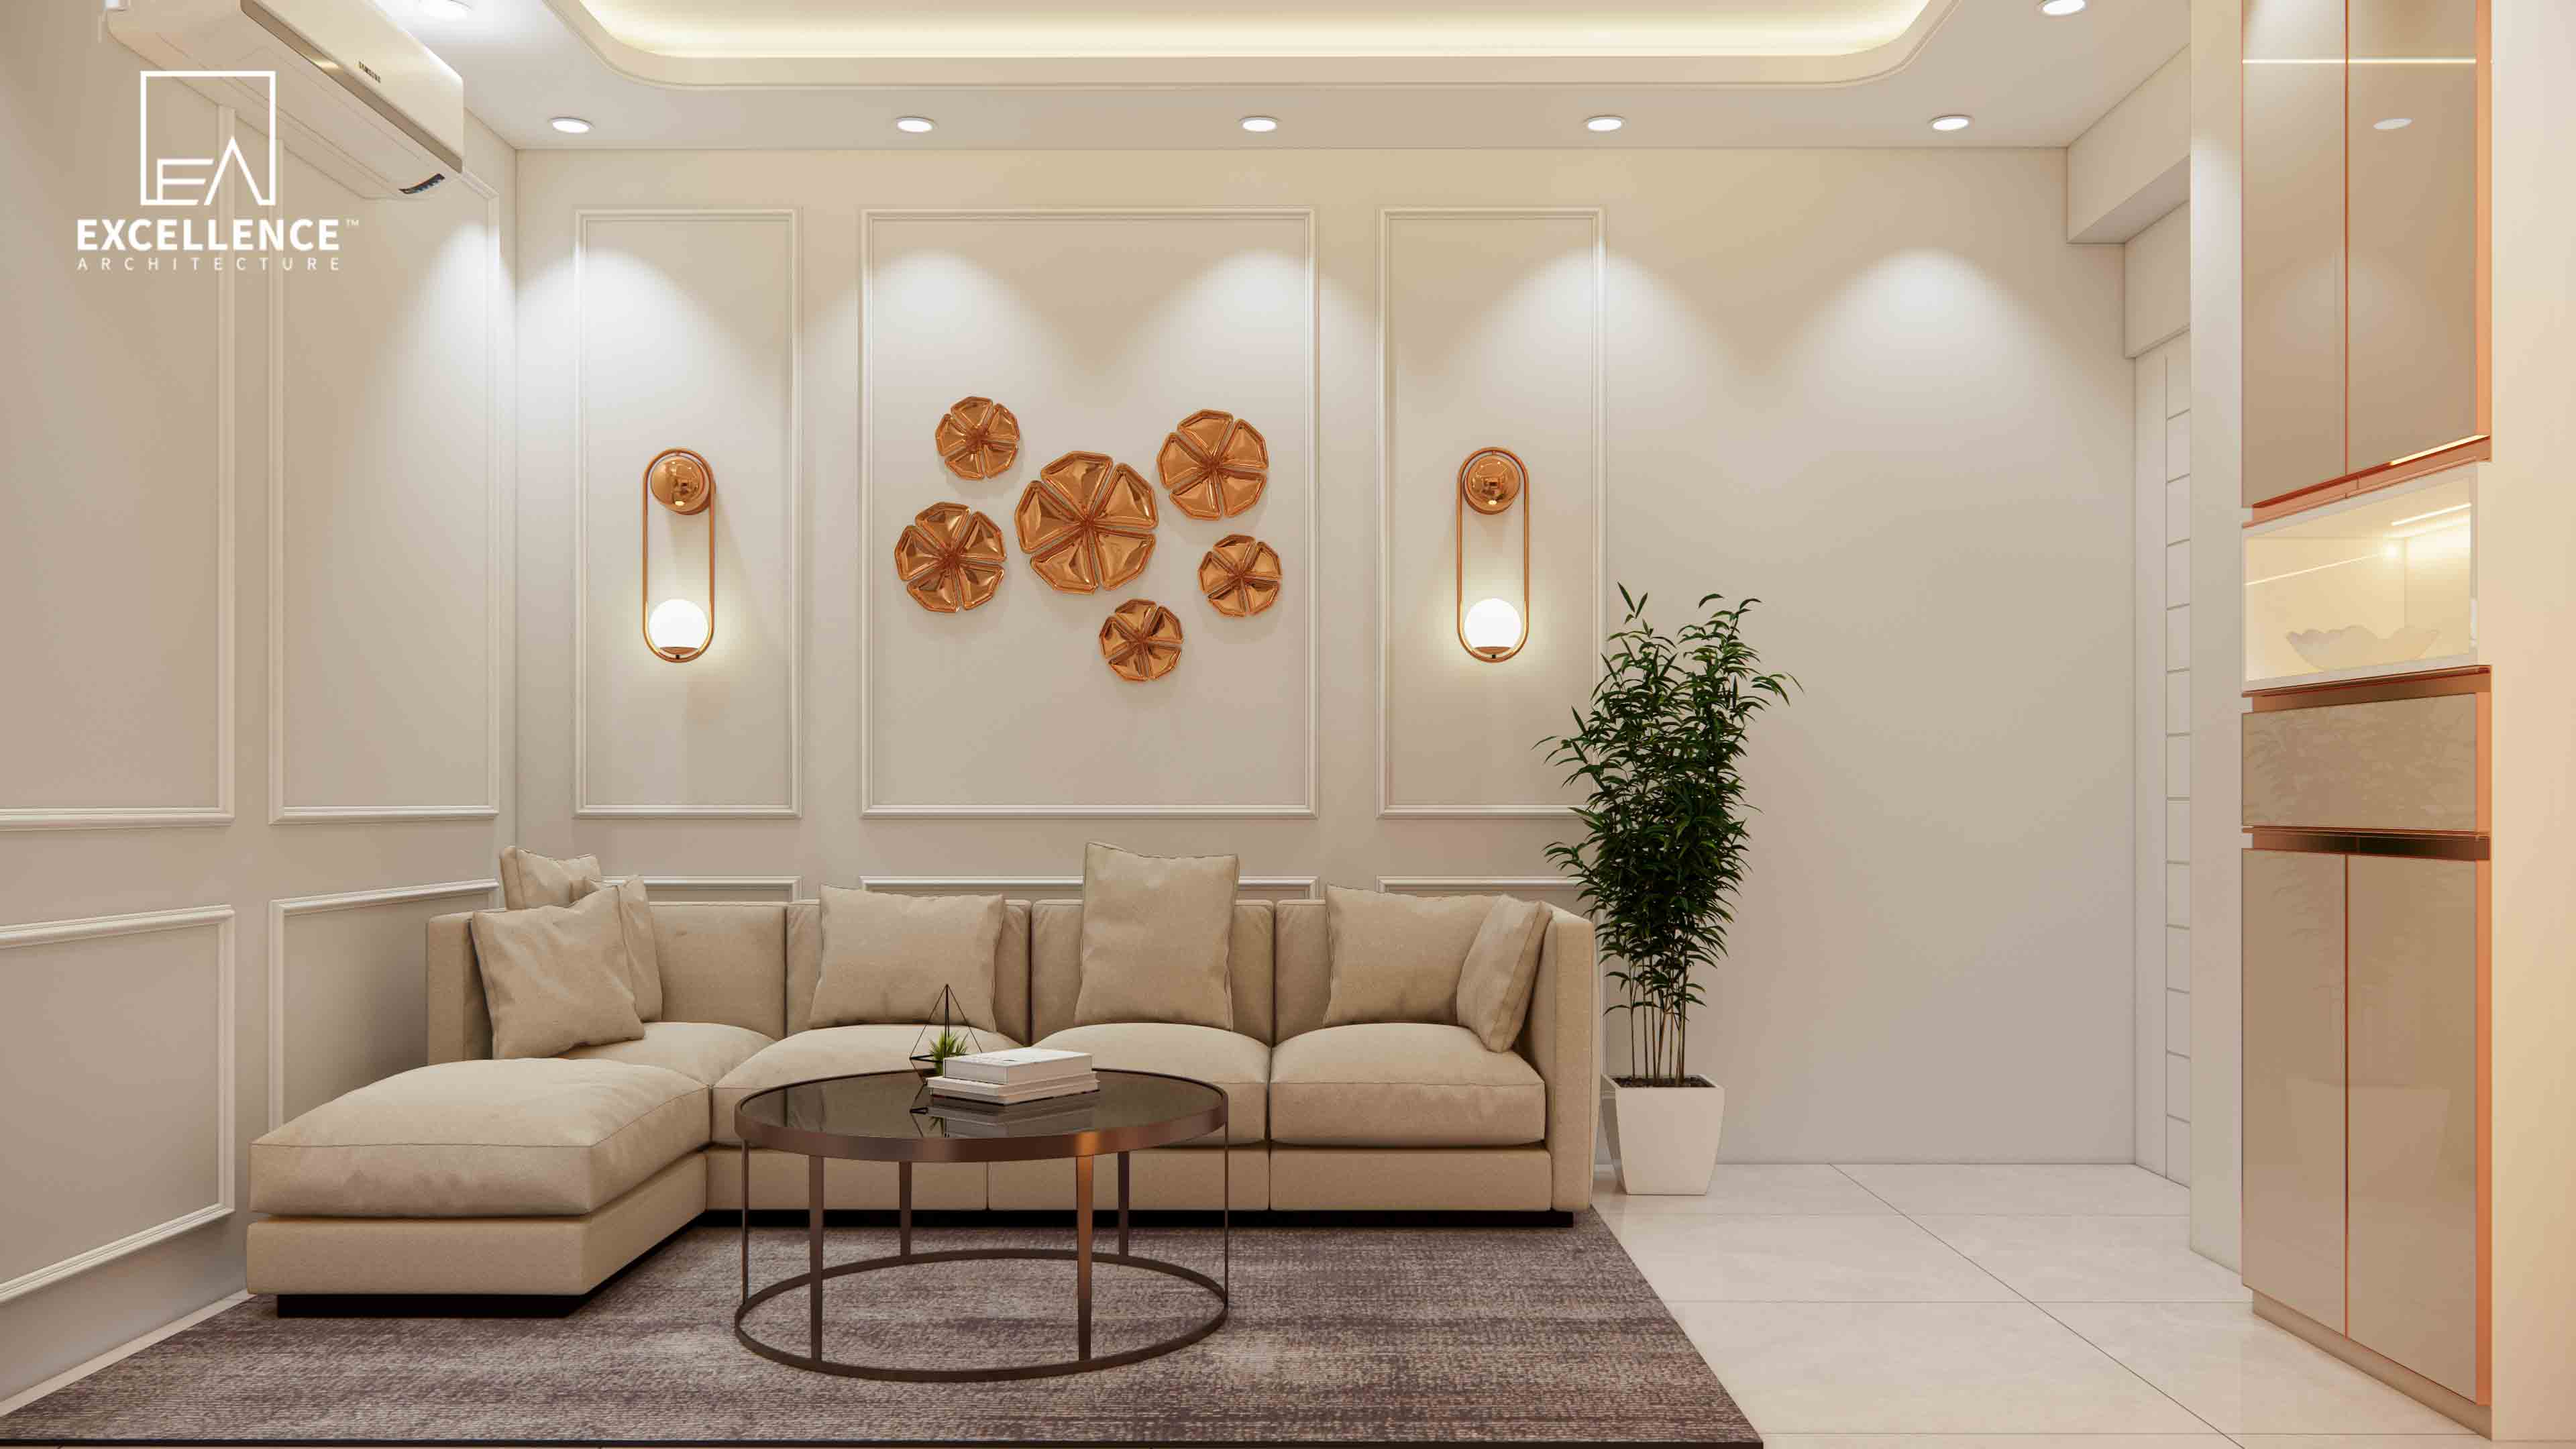
Dampness on interior walls is one of the most destructive challenges during Bangladesh’s intense monsoon season. Moisture seeping through concrete slabs and brickwork degrades plaster, spawns toxic mold, warps raw wood, and causes expensive wall paneling and modular wardrobes to rot from the inside out.
At Excellence Architecture, we protect your custom cabinetry investment by fixing the root cause of dampness before installation—combining heavy-duty waterproofing, smart material selection, and physical separation techniques.
Here is our complete step-by-step guide to damp-proofing your interior paneling and wardrobes:
Never cover a damp wall with paneling or wardrobes without treating the masonry first. Trapping moisture behind sealed boards creates an invisible breeding ground for termites and fungus:
Prevent direct physical contact between custom cabinetry and treated walls to stop capillary moisture transfer:
Always complete all civil waterproofing treatments, plumbing leak tests, and plaster drying cycles at least 7 to 10 days before bringing custom wooden paneling or factory-finished modular furniture onto the site for installation.
Fixing damp walls requires a systematic approach: stopping masonry seepage, creating air gaps, using 100% waterproof/BWR core materials, and controlling room humidity.
Protecting your apartment interior against monsoon dampness in Dhaka?
Contact Excellence Architecture today to request your Free 2D Floor Plan and schedule an on-site dampness inspection with our technical experts!
Tired of interior budget ballooning midway? Discover red flags in vague contractor quotes, BOQ standards, and contract clauses to protect your Dhaka home investment.

Struggling with non-standard wall angles or narrow hallways in your Dhaka flat? Discover custom joinery, rounded furniture layouts, and spatial clearance rules.
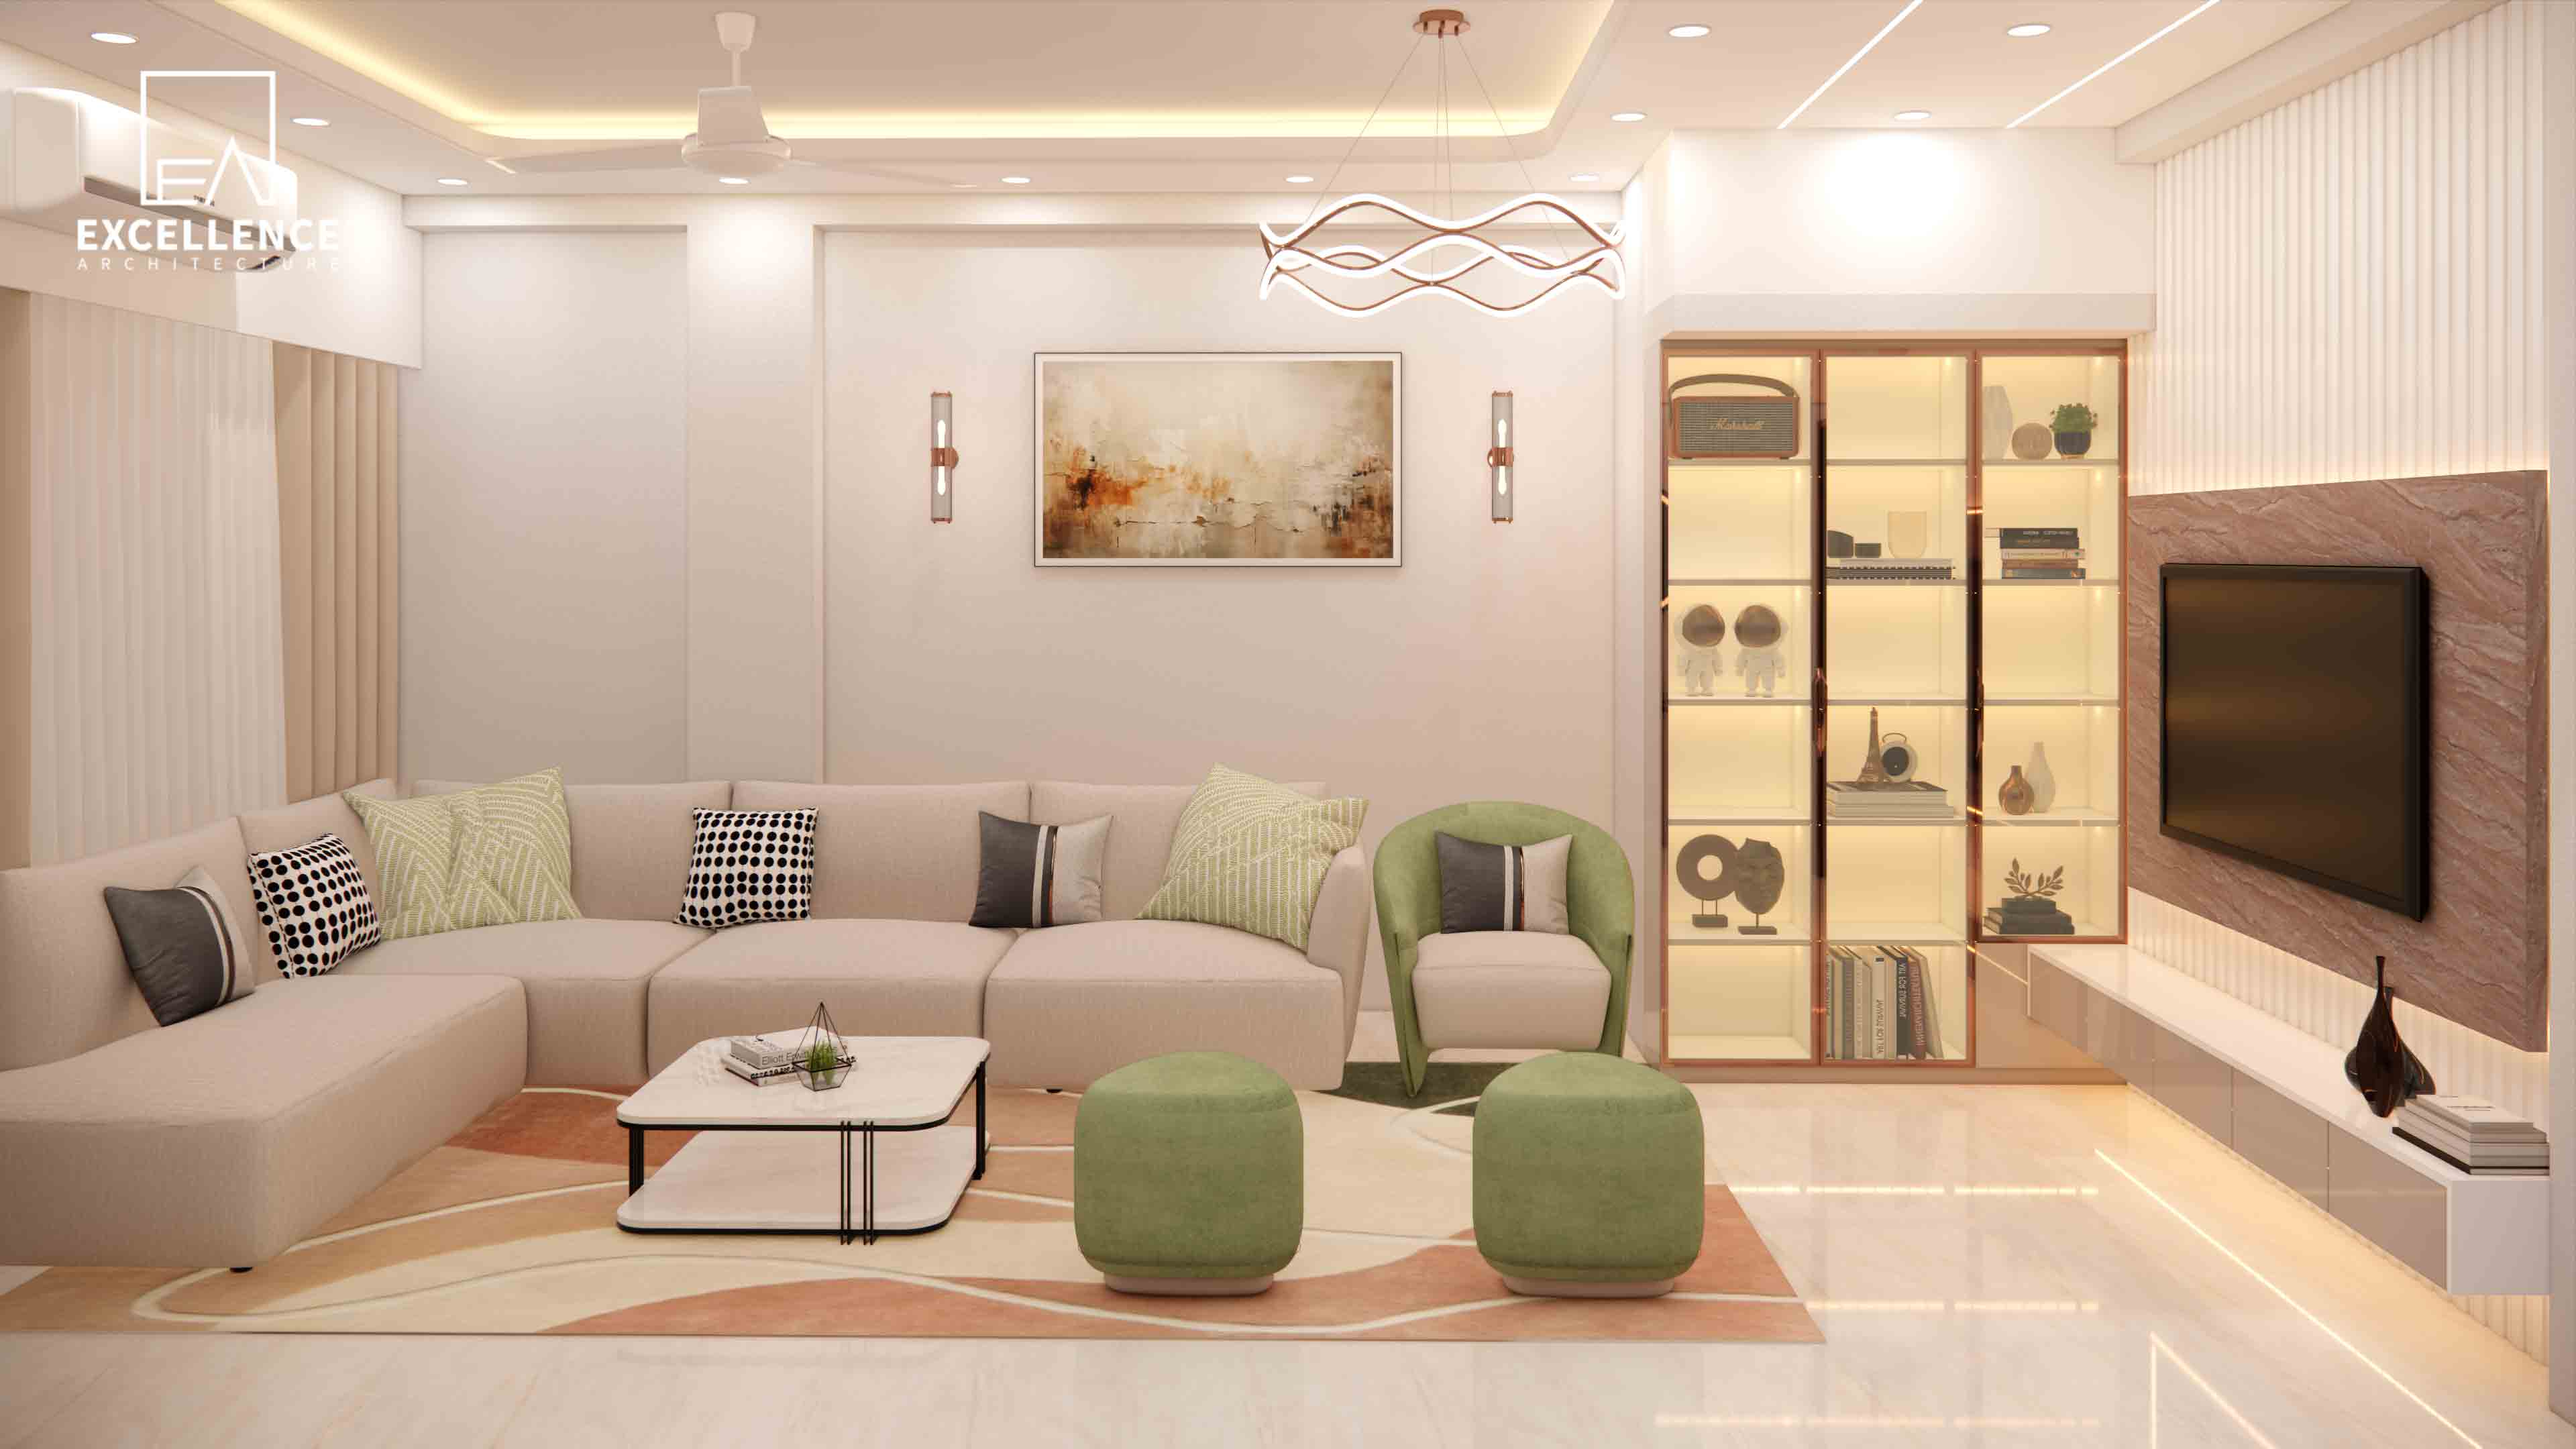
Living in an 8.5 ft low-ceiling Dhaka flat? Discover clever visual tricks, uplighting strategies, paint choices, and low-profile furniture layouts that make rooms feel lofty.
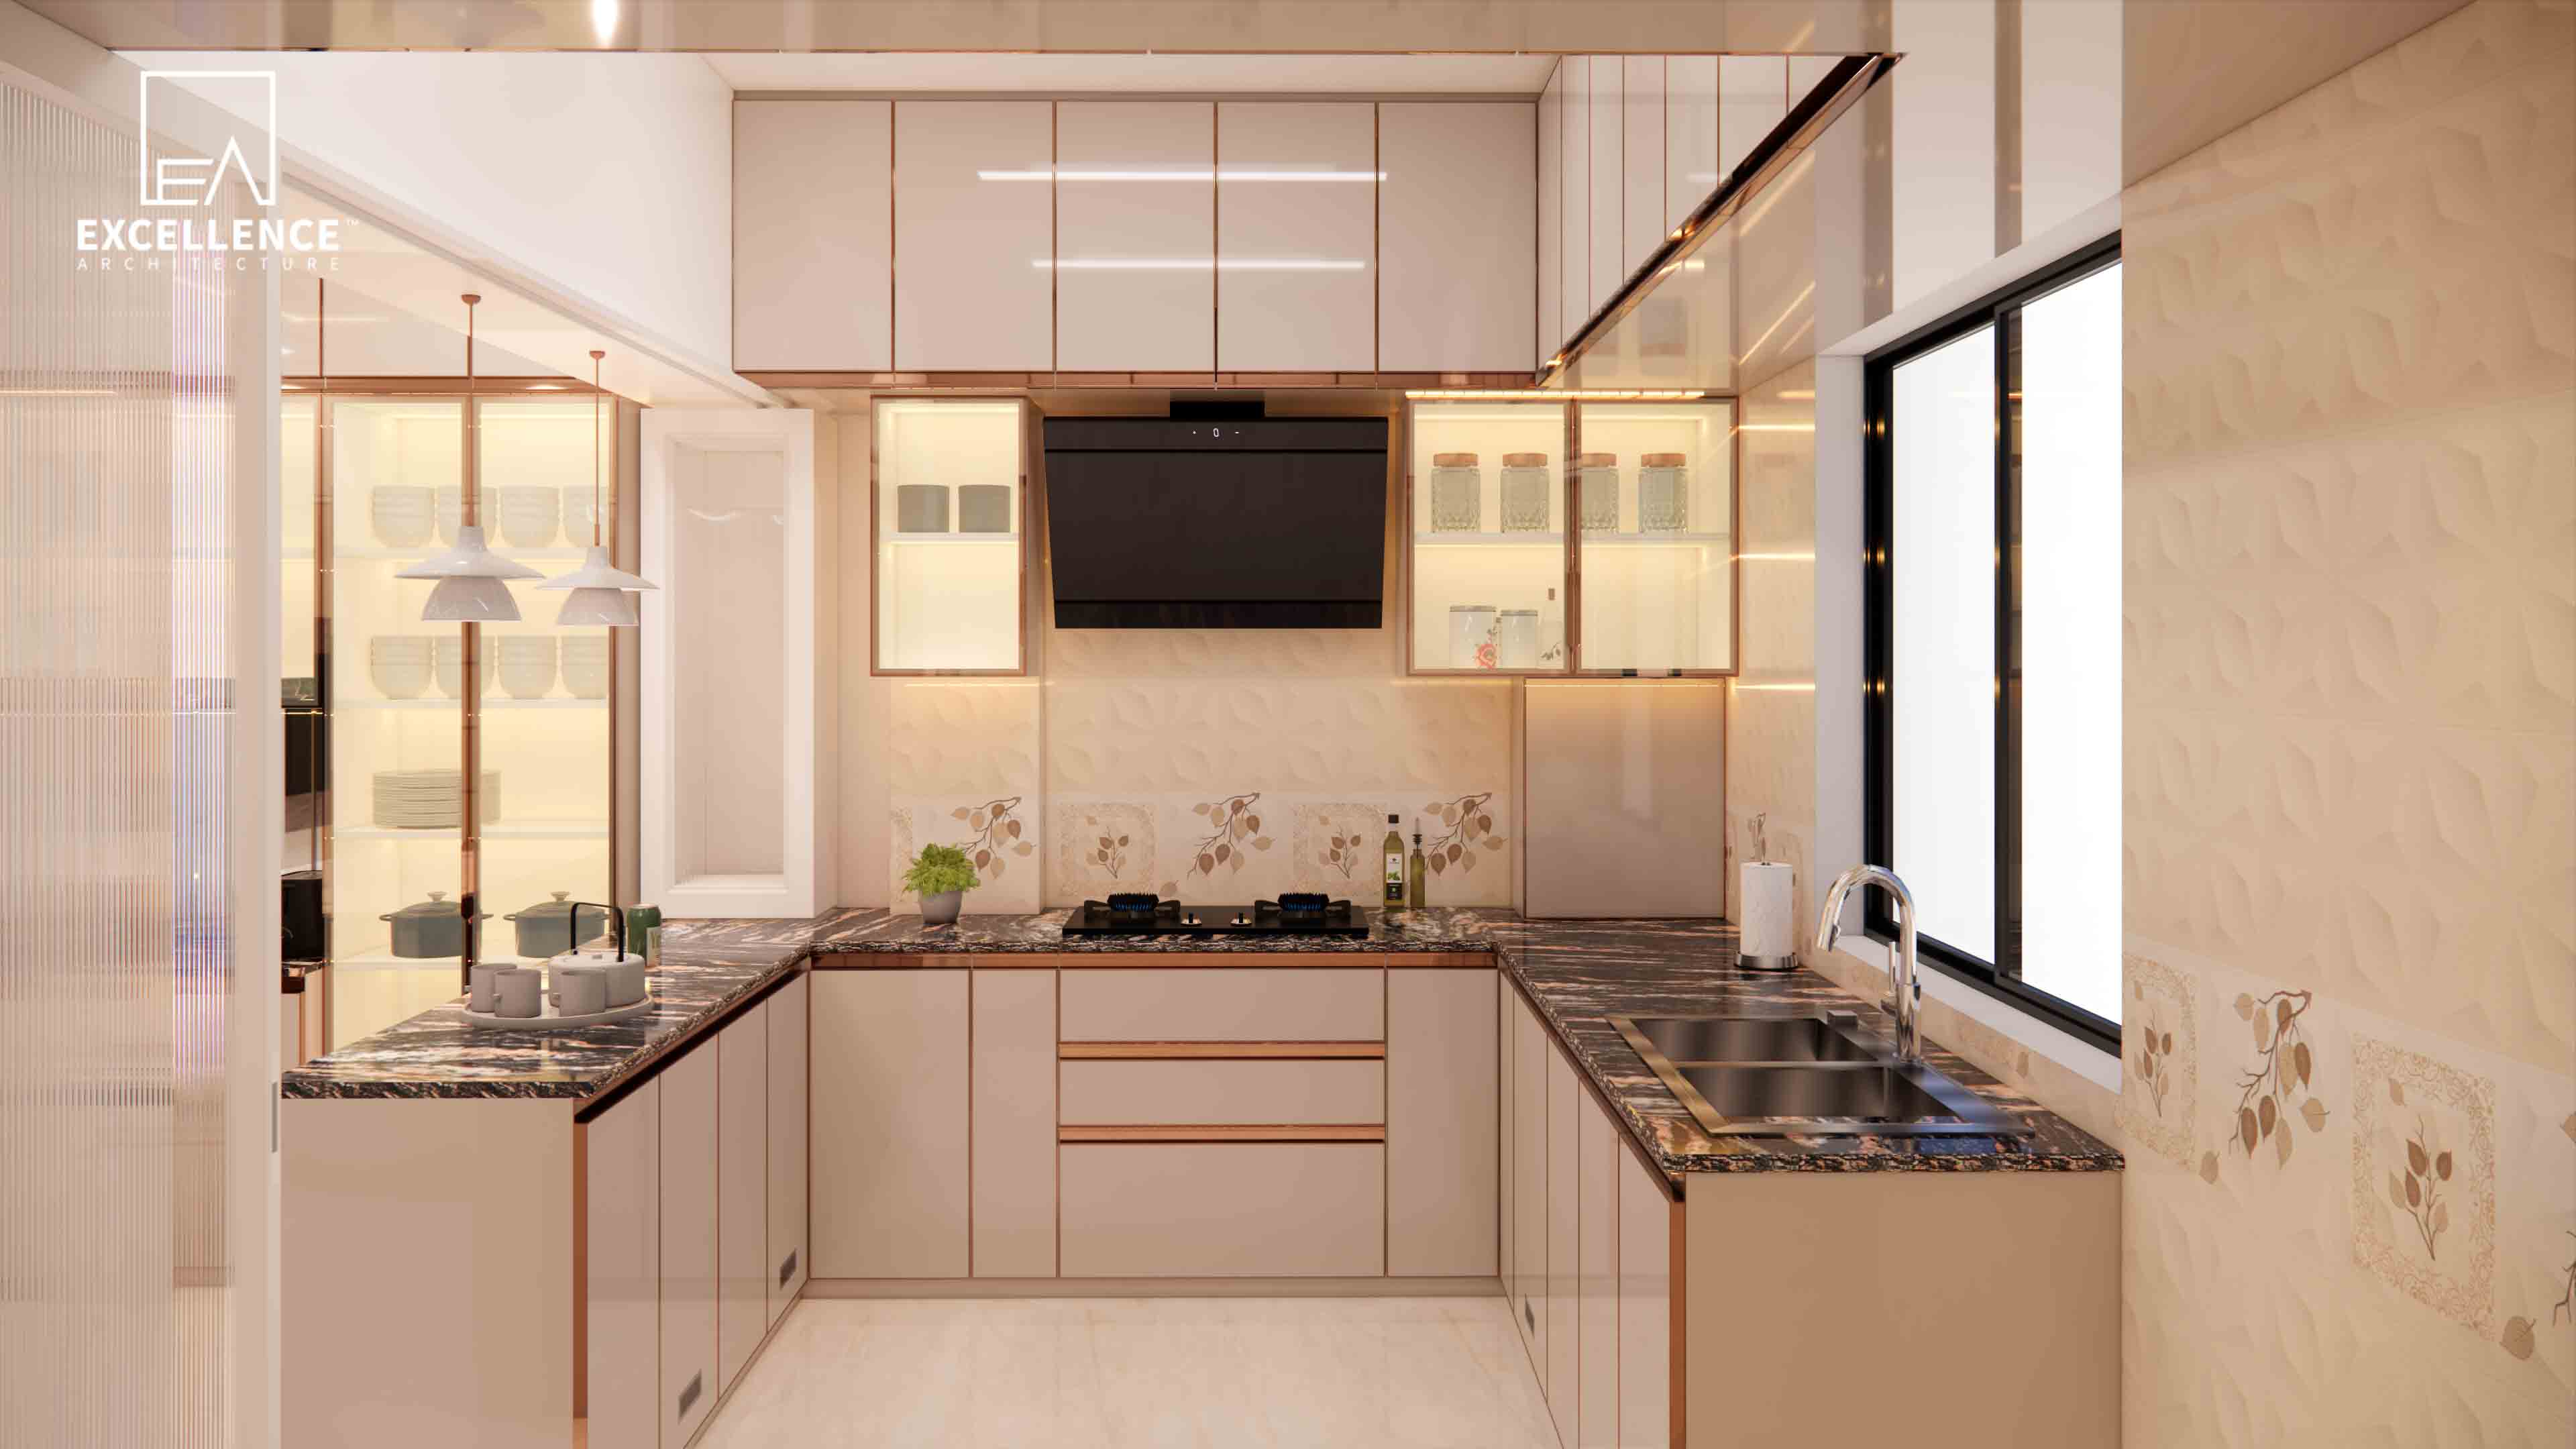
Tired of greasy kitchen wall stains? Discover easy-to-clean kitchen wall materials for Dhaka homes, including back-painted glass, porcelain slabs, and epoxy grout tips.
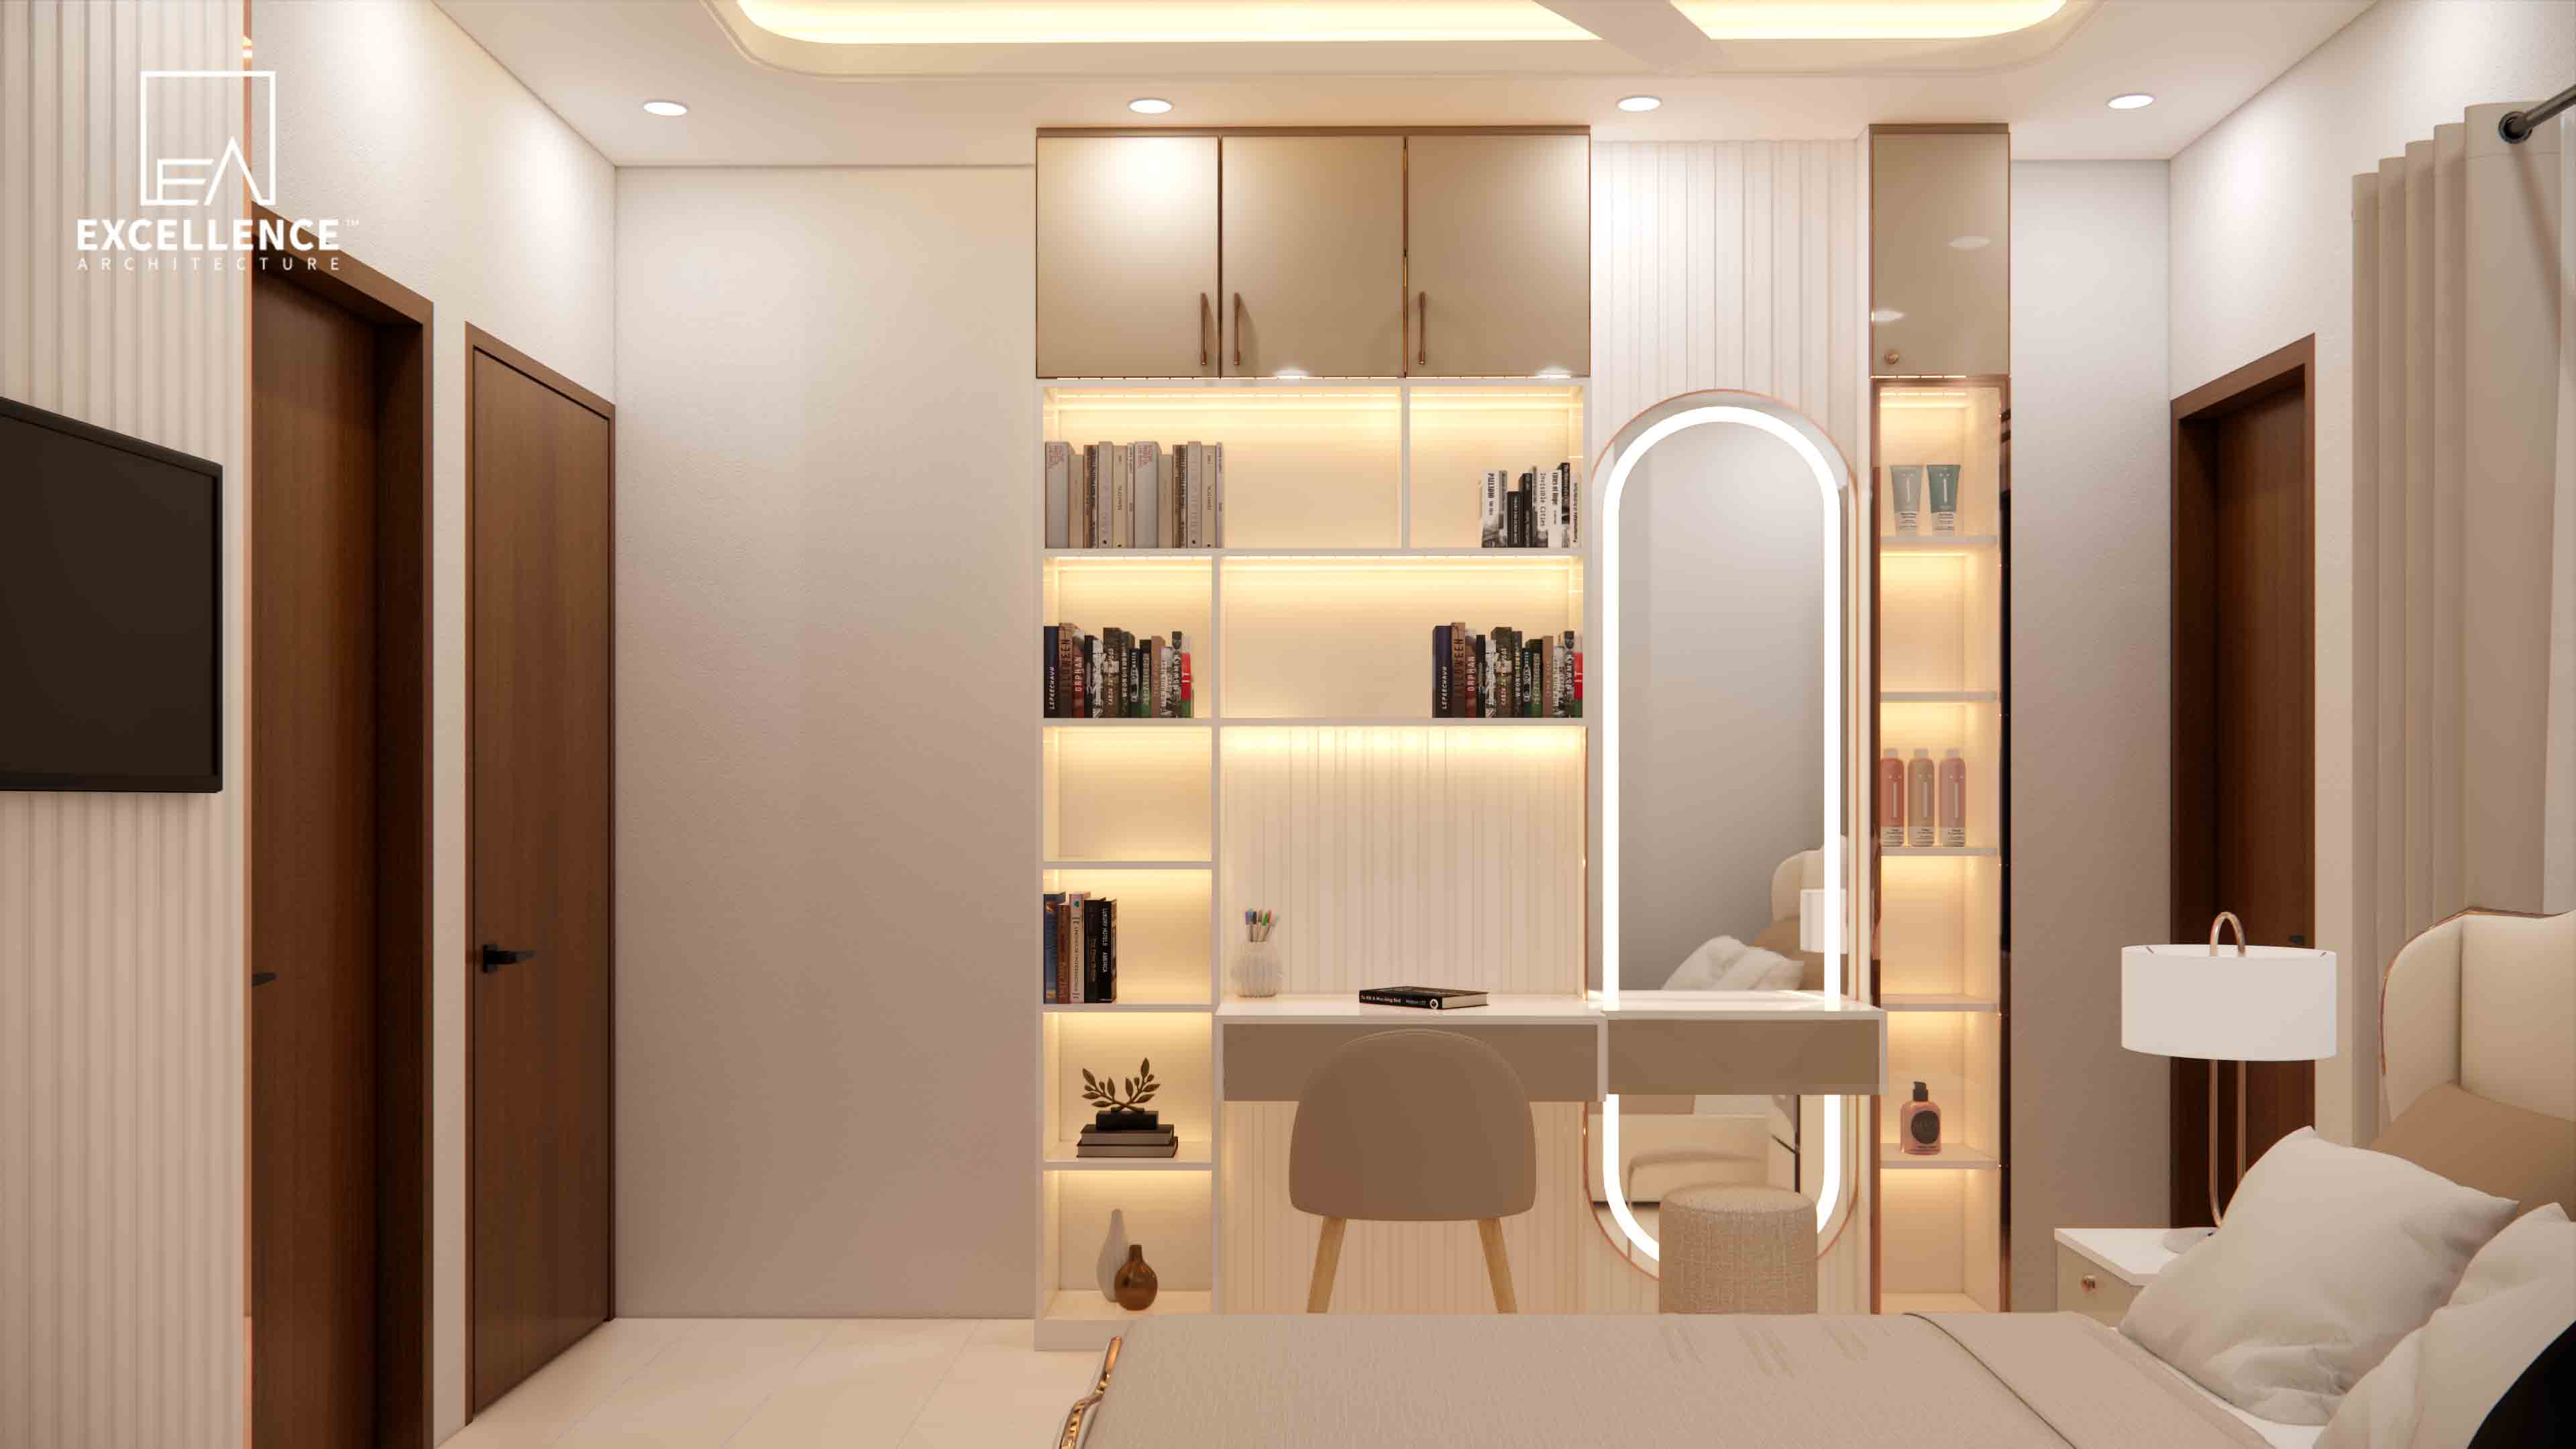
Overwhelmed by clutter in a compact Dhaka flat? Learn how hidden vertical storage, seamless lofting, over-door cabinets, and flush headboard storage free up floor space.
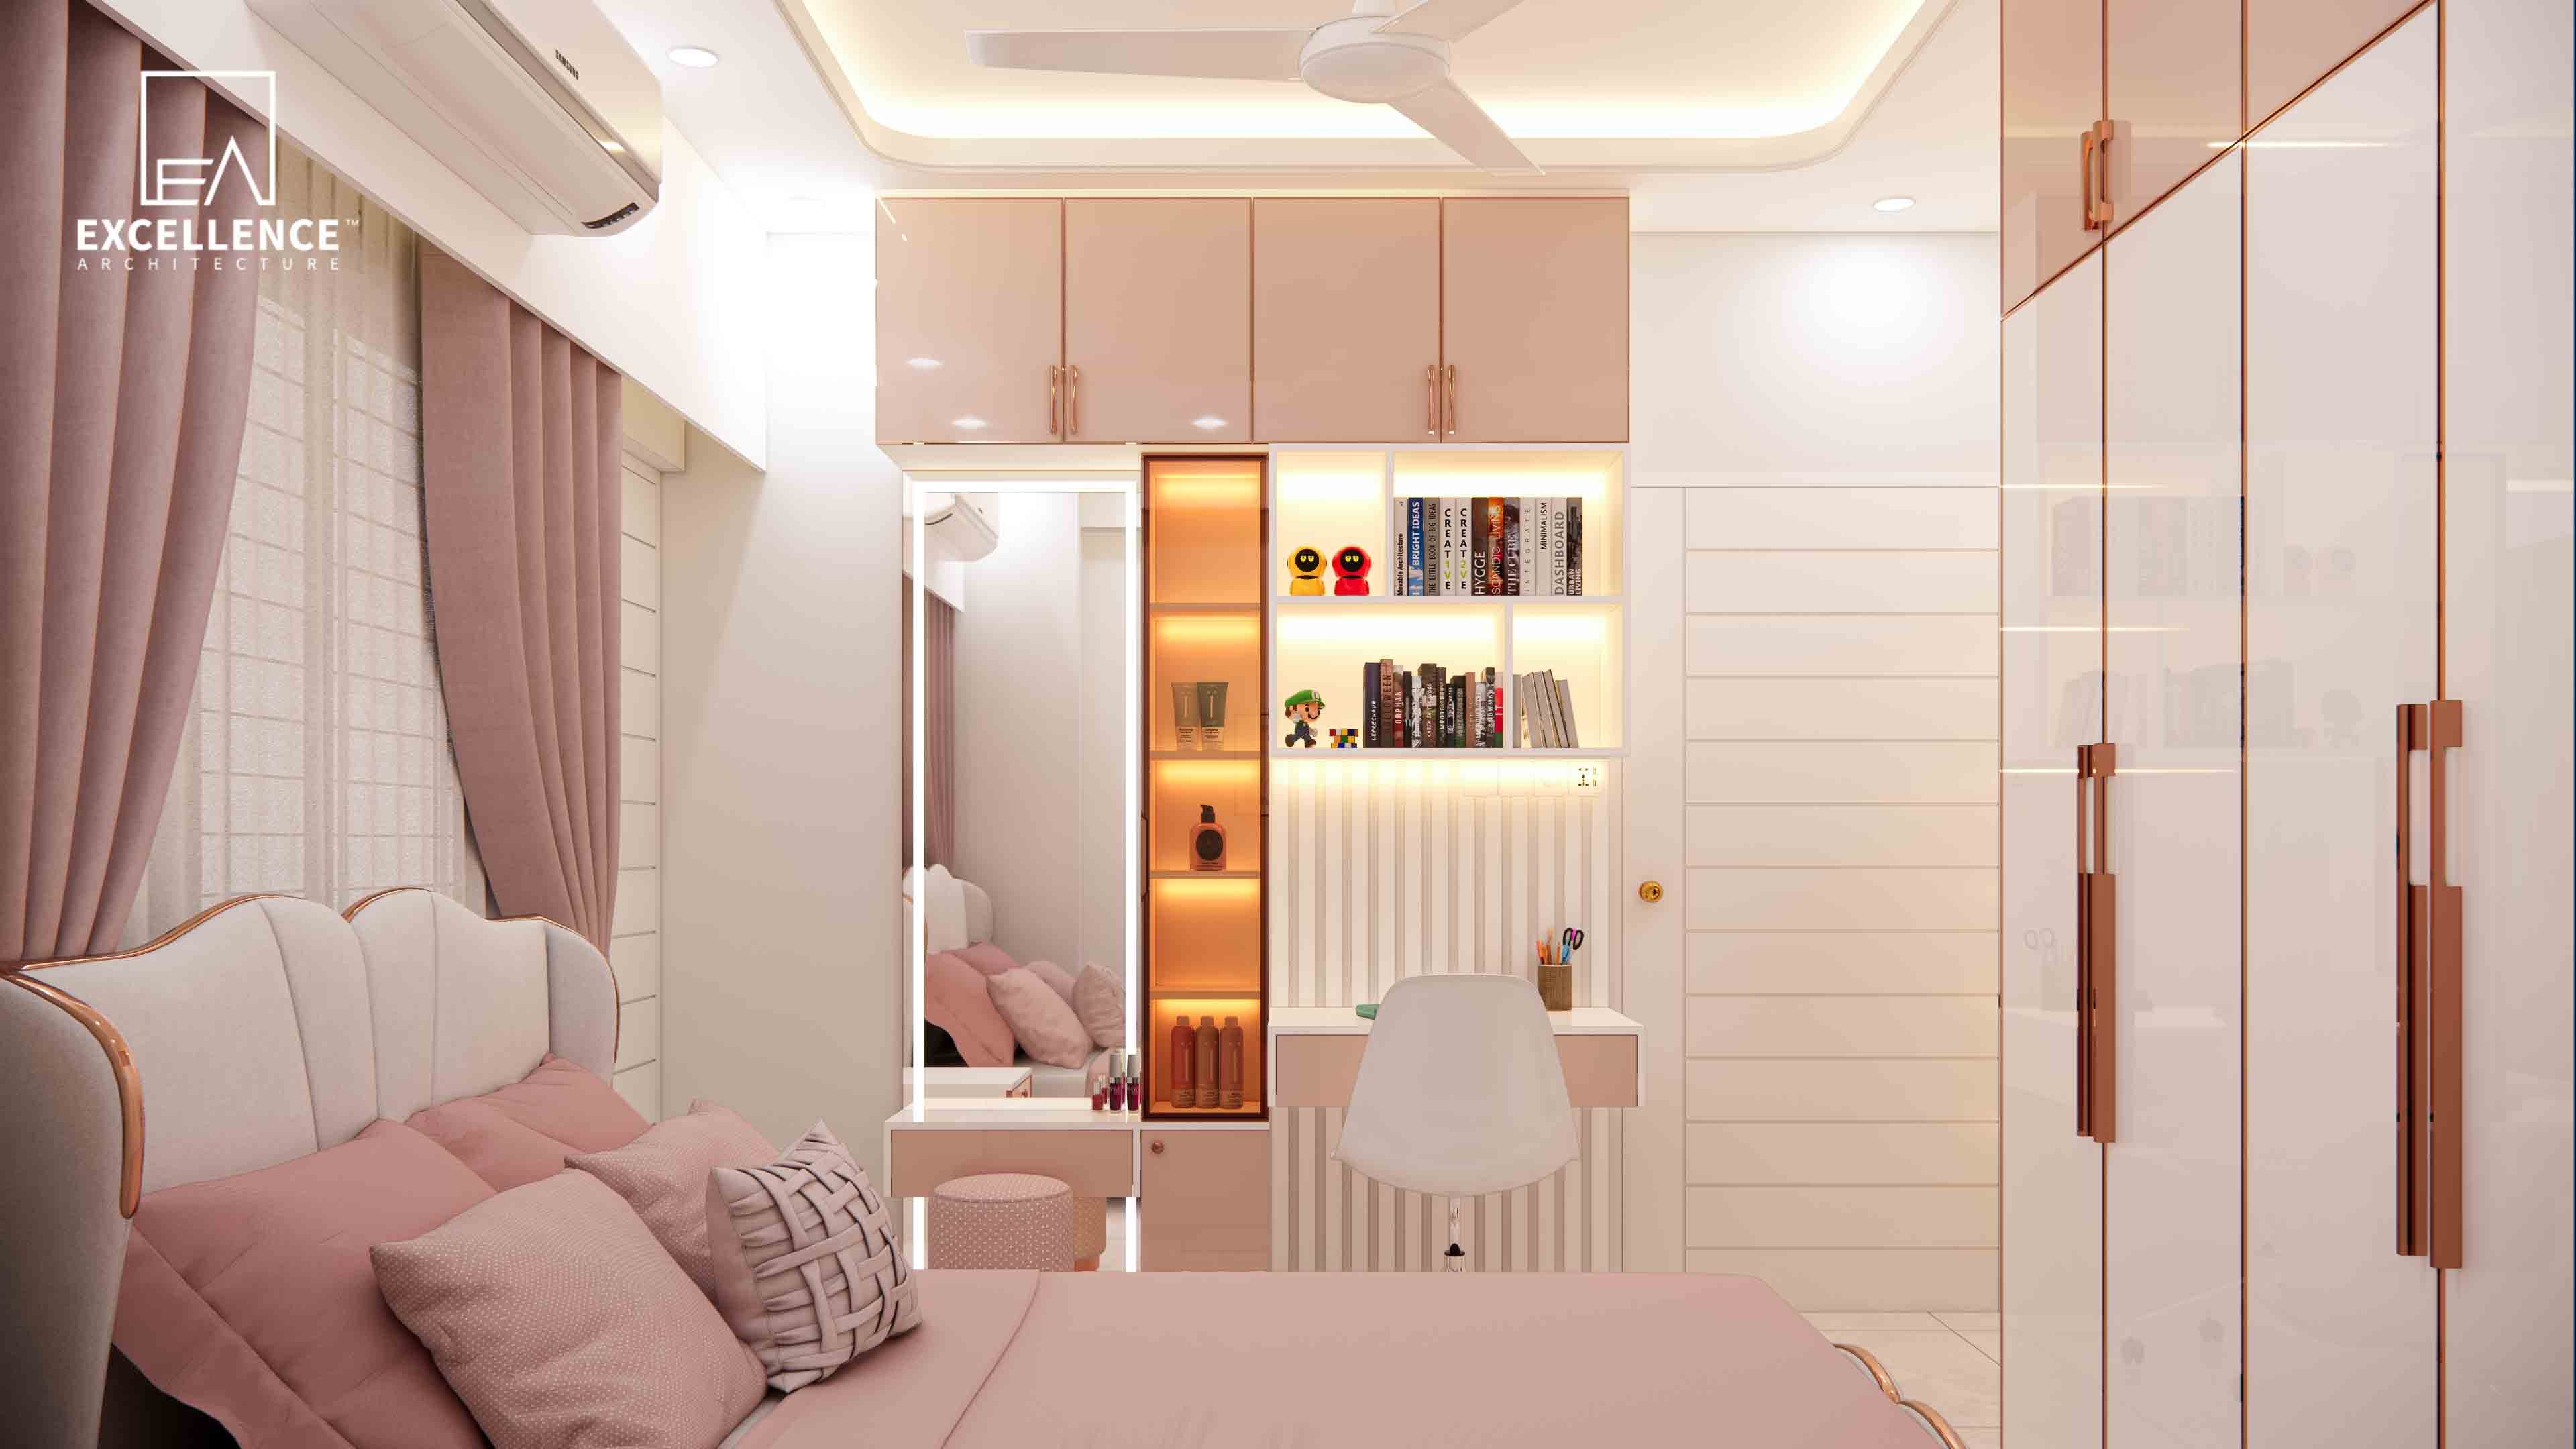
Fitting a King bed, wardrobe, and vanity in under 120 sqft? Learn smart layout tricks, built-in storage ideas, and clear walkway measurements for compact Dhaka flats.